Step 1: Assessing Your Needs
Before beginning the gutter installation process, it’s essential to assess your home’s specific needs and requirements. Consider factors such as the size and layout of your roof, the amount of rainfall in your area, and any existing drainage issues that need to be addressed. This information will help you determine the type, size, and placement of gutters that are best suited to protect your home effectively.
Step 2: Choosing the Right Materials
Gutters come in a variety of materials, each offering its own advantages in terms of durability, aesthetics, and maintenance requirements. Common gutter materials include aluminum, vinyl, steel, and copper. Consider factors such as cost, longevity, and curb appeal when selecting the right material for your home.
Step 3: Planning and Design
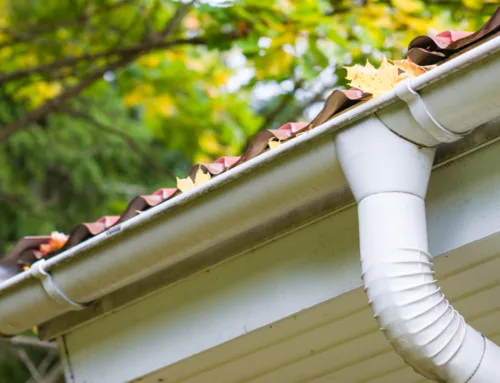
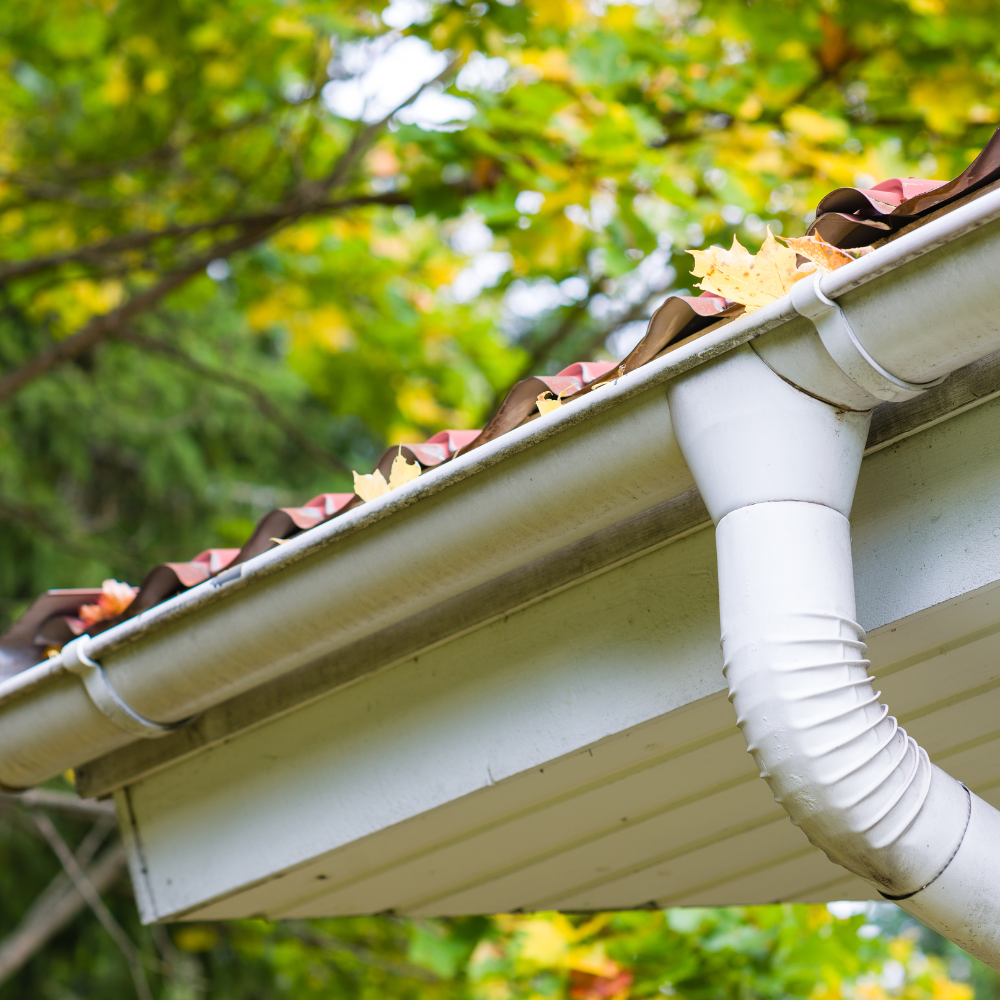
Once you’ve chosen the appropriate materials, it’s time to plan and design your gutter system. This involves determining the optimal placement of gutters, downspouts, and drainage points to ensure proper water flow and maximum protection for your home. Take into account factors such as roof pitch, landscaping features, and architectural elements when designing your gutter system.
Step 4: Preparation and Installation
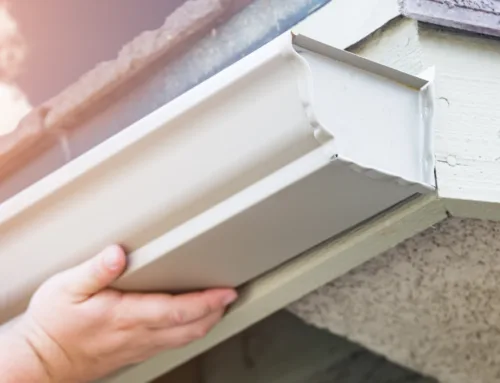
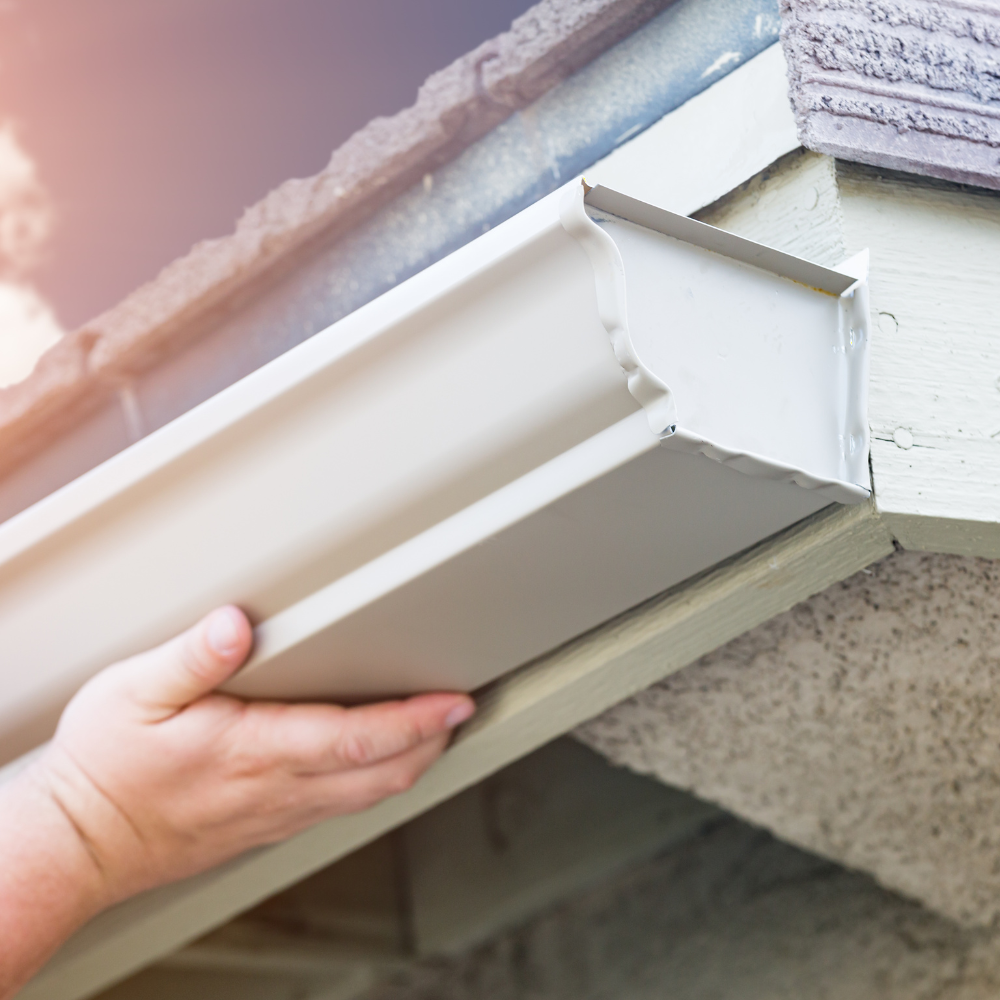
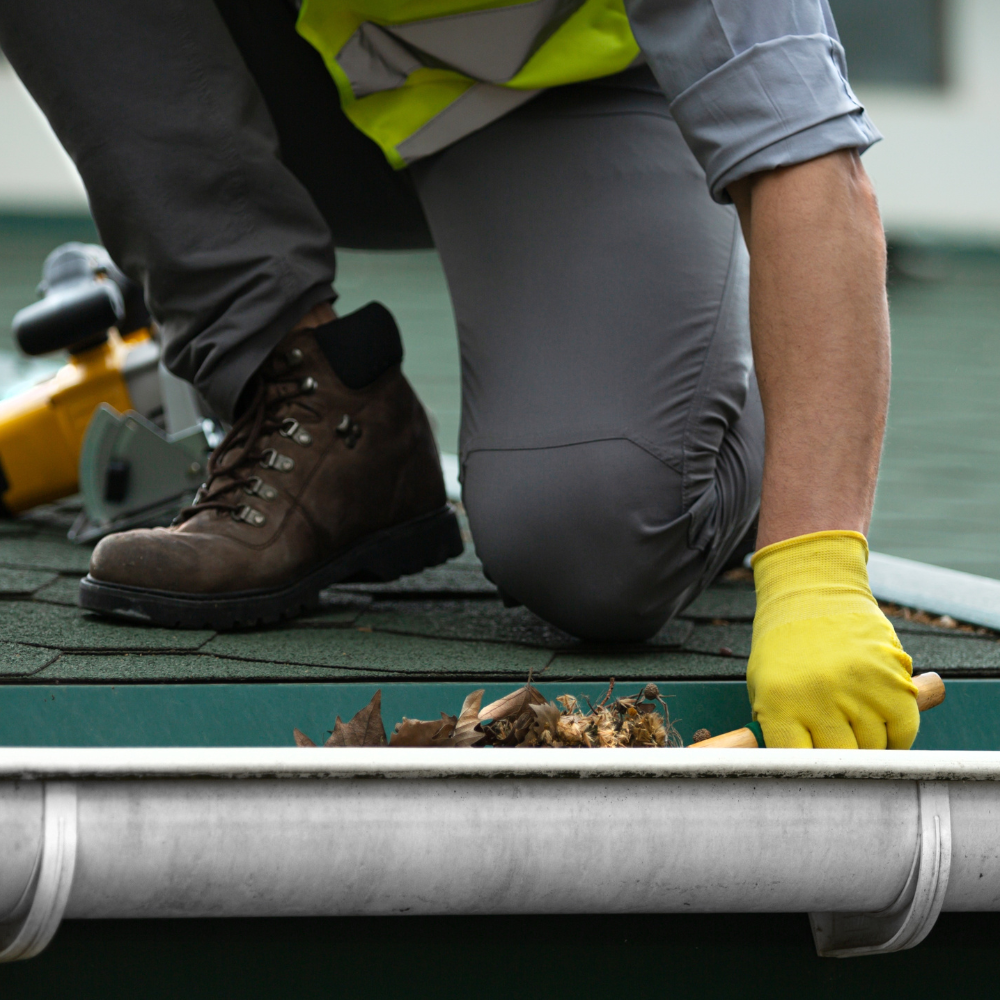
Before installing your gutters, it’s essential to prepare the site by cleaning and inspecting the roof and fascia boards for any damage or debris. Begin by attaching gutter hangers or brackets to the fascia boards at the appropriate intervals, ensuring that they are securely fastened and leveled. Next, install the gutter sections, connecting them with seamless joints or overlapping seams as needed. Finally, attach downspouts and elbows to direct water away from the foundation and secure them in place with screws or brackets.
Step 5: Finishing Touches
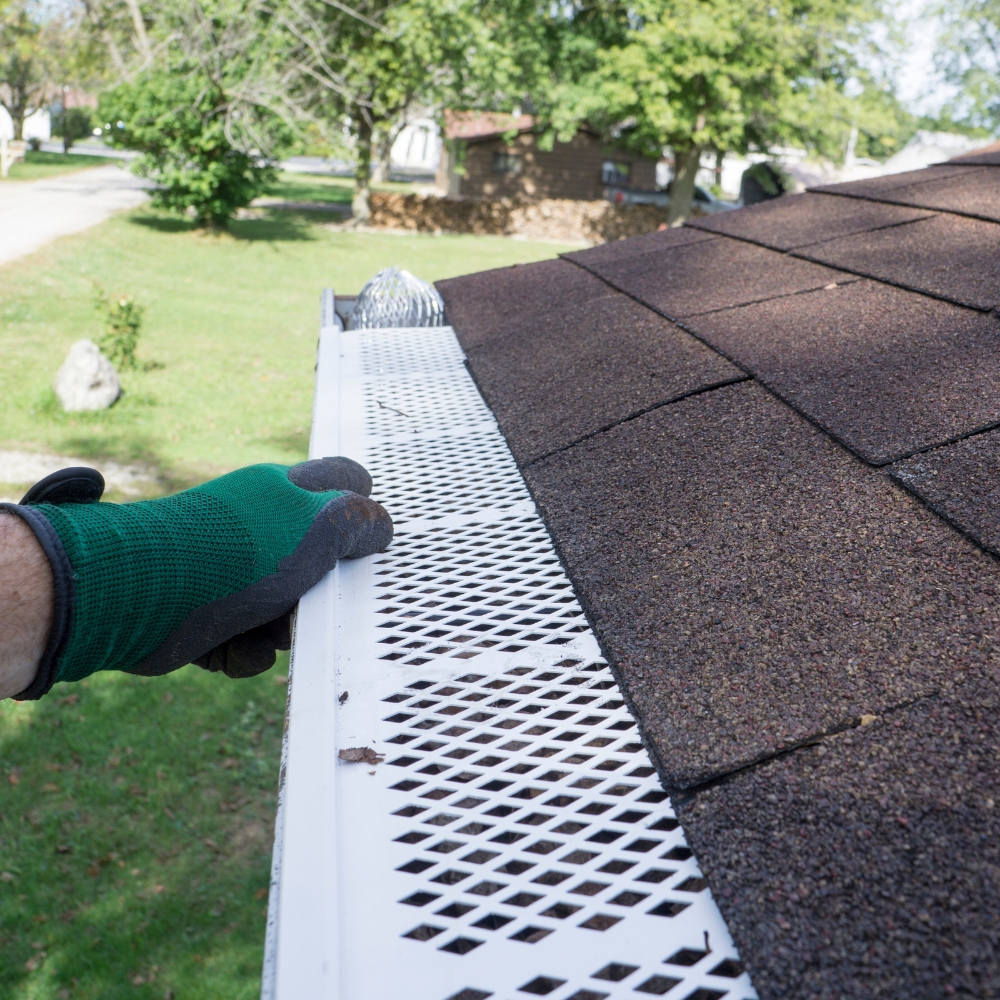
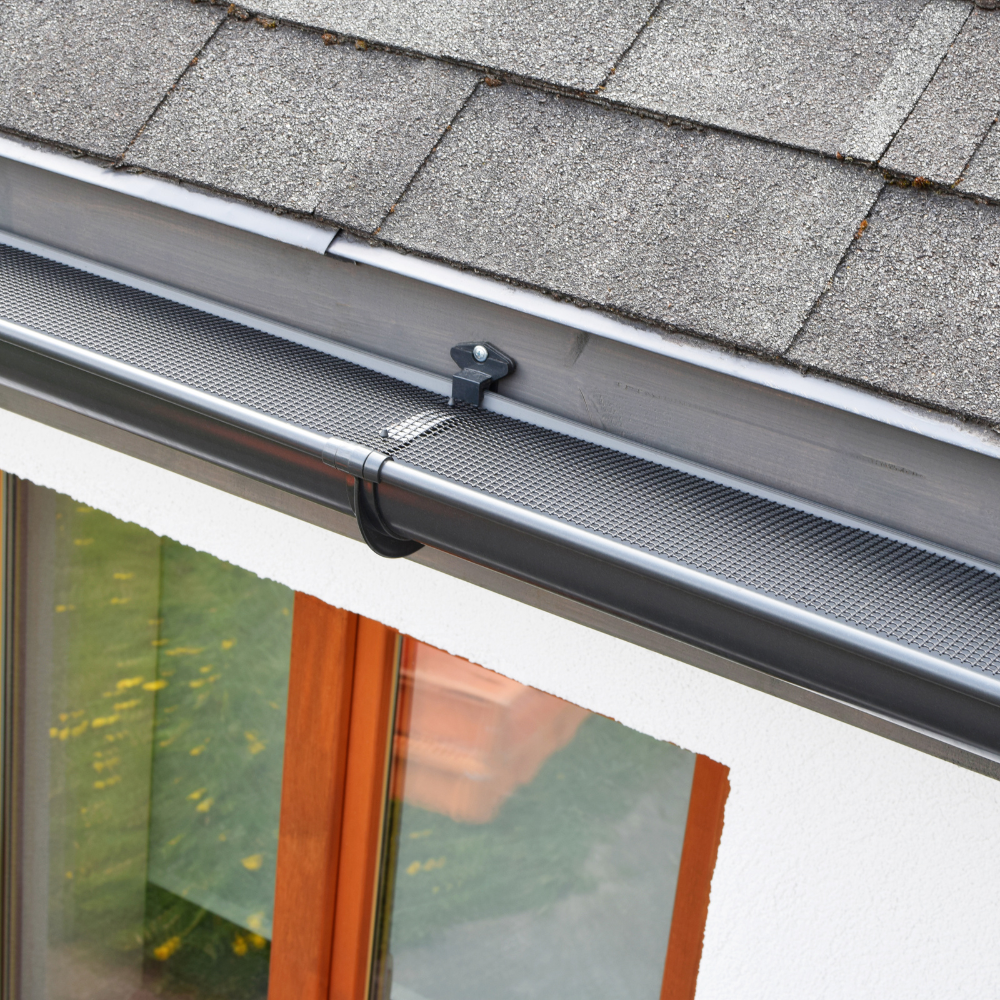
After installing the gutters, inspect and adjust them as necessary for proper alignment and functionality. Seal any seams or joints with gutter sealant to prevent leaks, and consider adding gutter guards or screens to reduce debris buildup and clogs. Lastly, clean up the work area thoroughly, removing any excess materials or debris to leave your home looking tidy.
Protecting Your Investment
Gutter installation is crucial for safeguarding your home from water damage and maintaining its value. With this guide and professional assistance, ensure your installation is done efficiently and effectively, providing long-term protection against the elements. Don’t wait for water damage—invest in gutter installation now for peace of mind and a well-protected home. Premier Gutter offers expert guidance on gutter installation. Contact us today!

